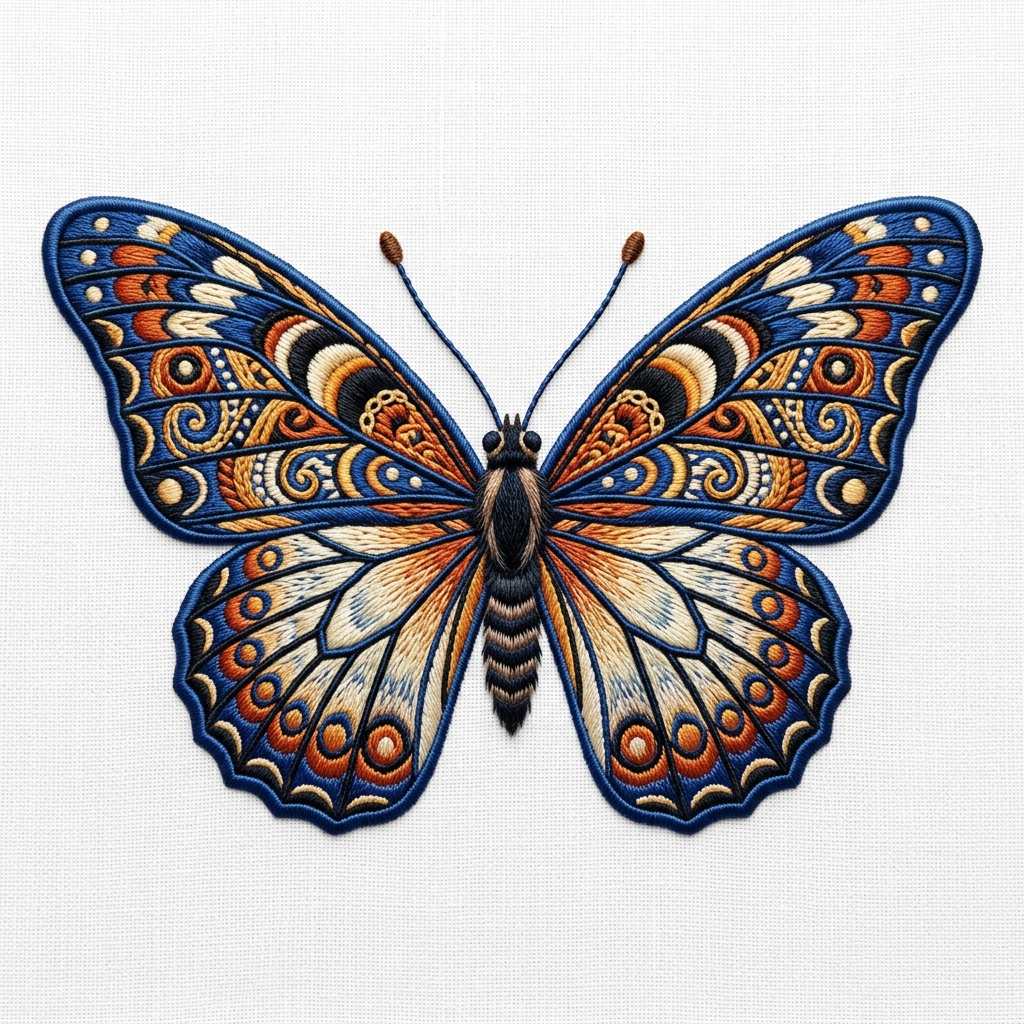
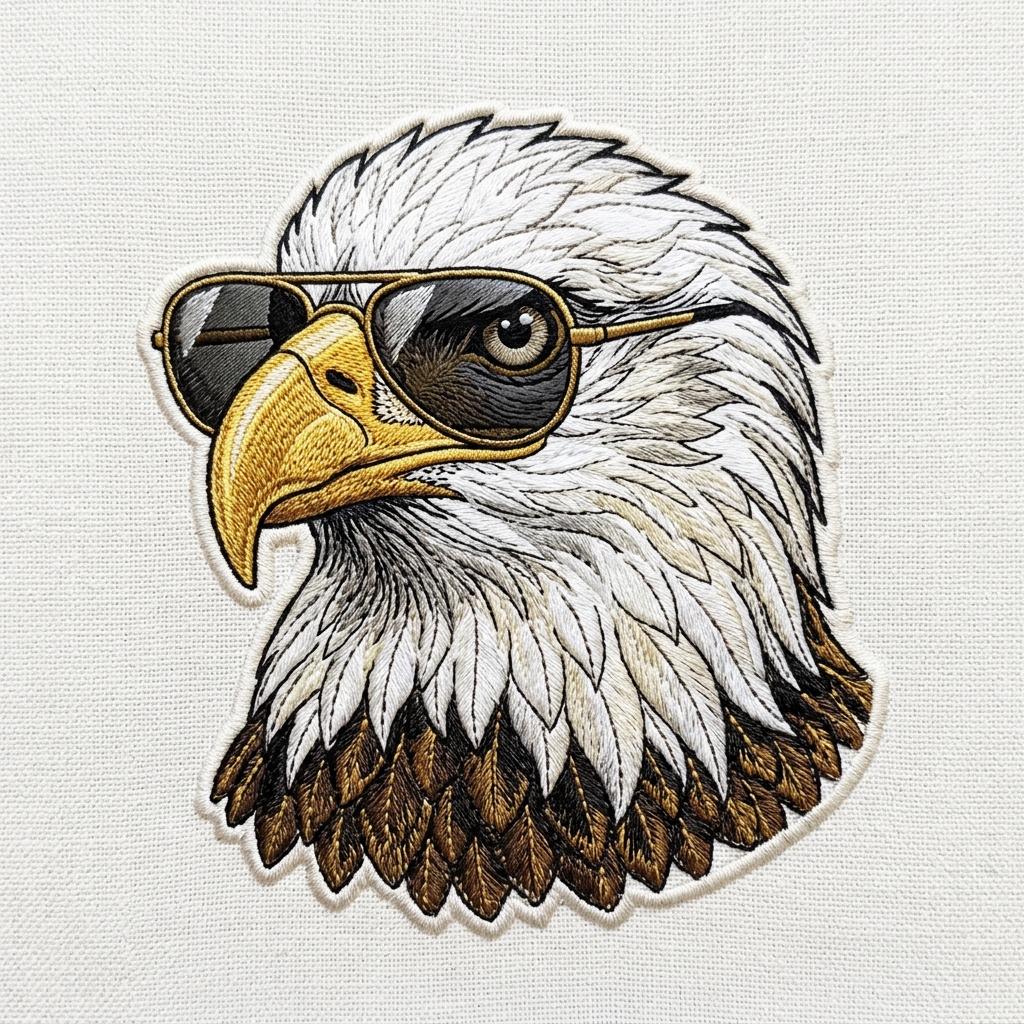
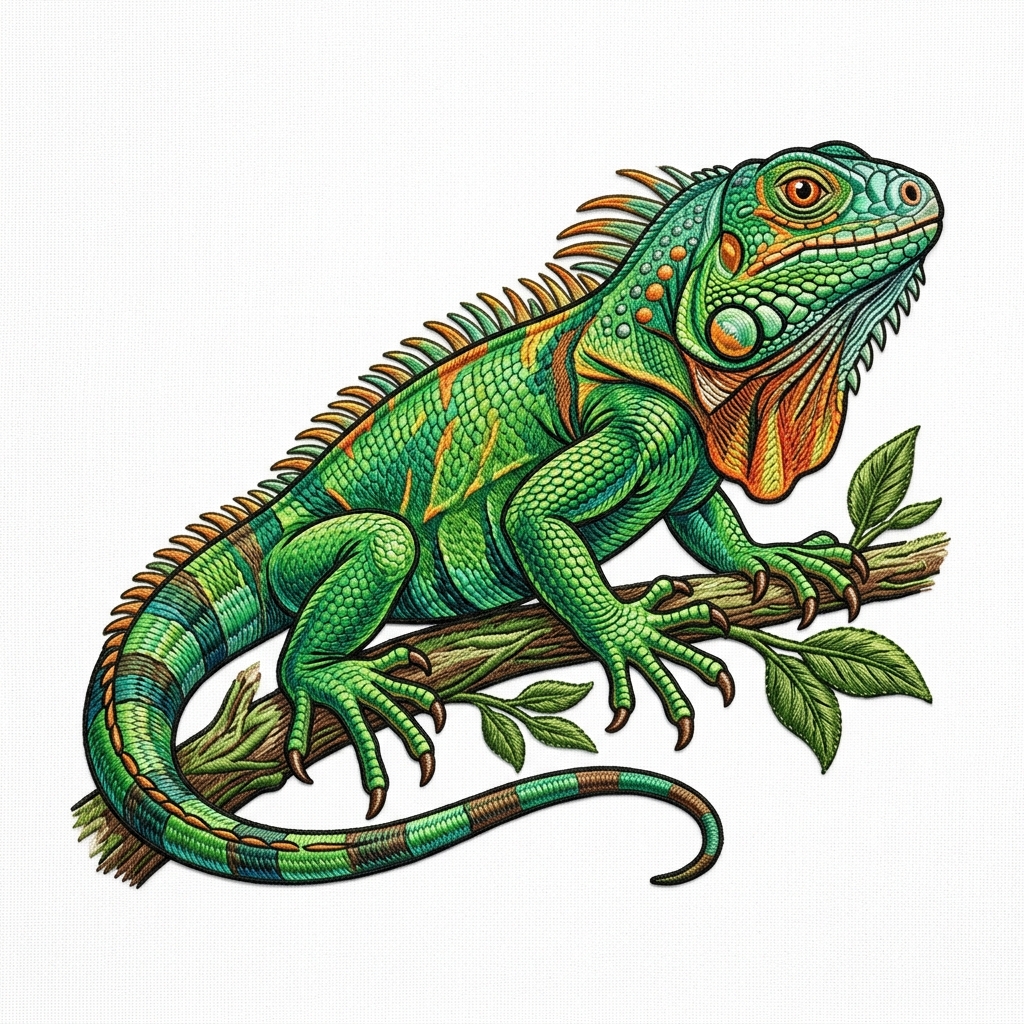
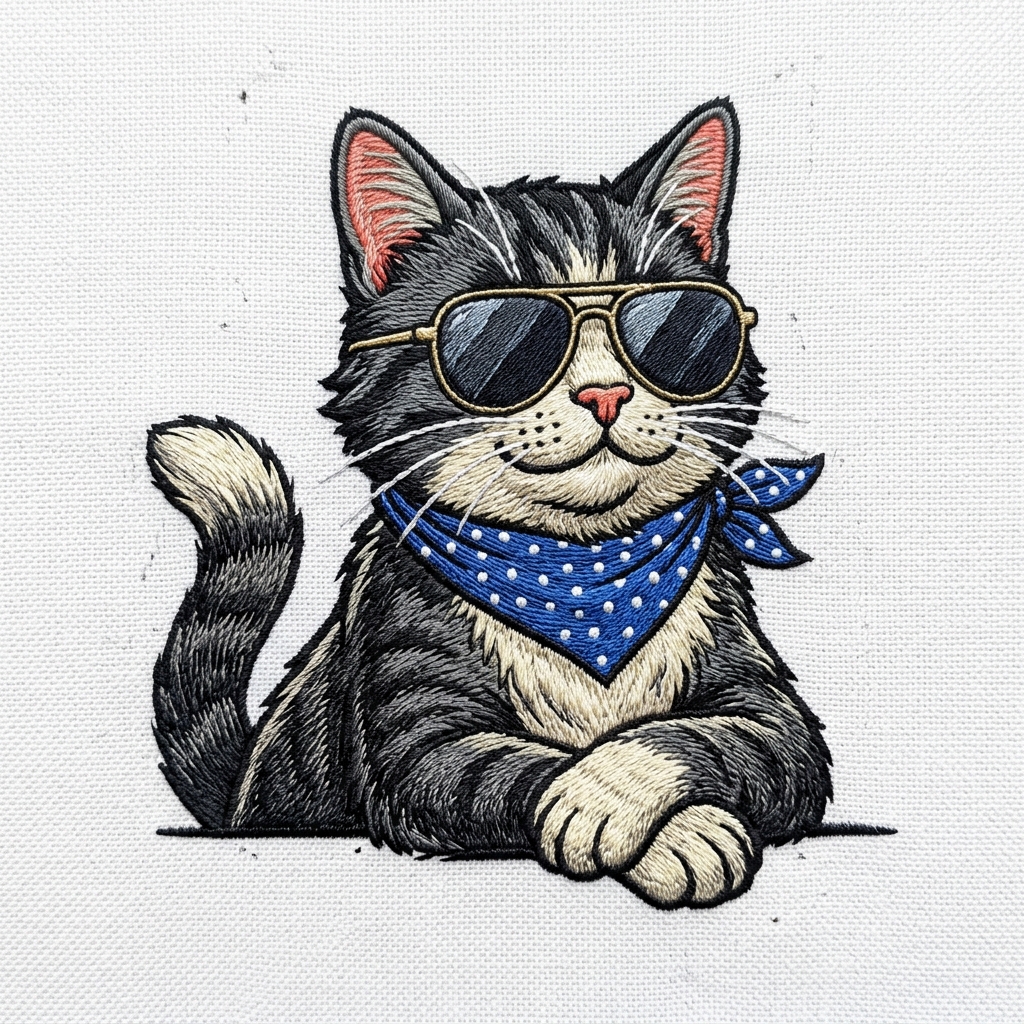
The embroidery landscape is shifting, and the way creators and embroidery businesses make stitch files has completely transformed. If you are looking for a scalable, reliable, and high-quality conversion tool, png to dst conversion is currently one of the most lucrative opportunities available to scale your production. Gone are the days when you had to sit in front of a computer for hours manually digitizing, tracing outlines, and manually adjusting stitch directions. Welcome to the era of the automated embroidery digitizer, where smart workflows and automated algorithms do the heavy lifting for you.
In this comprehensive guide, we will dive deep into the ultimate strategies for converting your artwork into clean embroidery formats, exploring everything from density settings to finding the most effective youtube automation tools (or rather, embroidery conversion tools) that the market has to offer.
What is a PNG to DST Converter?
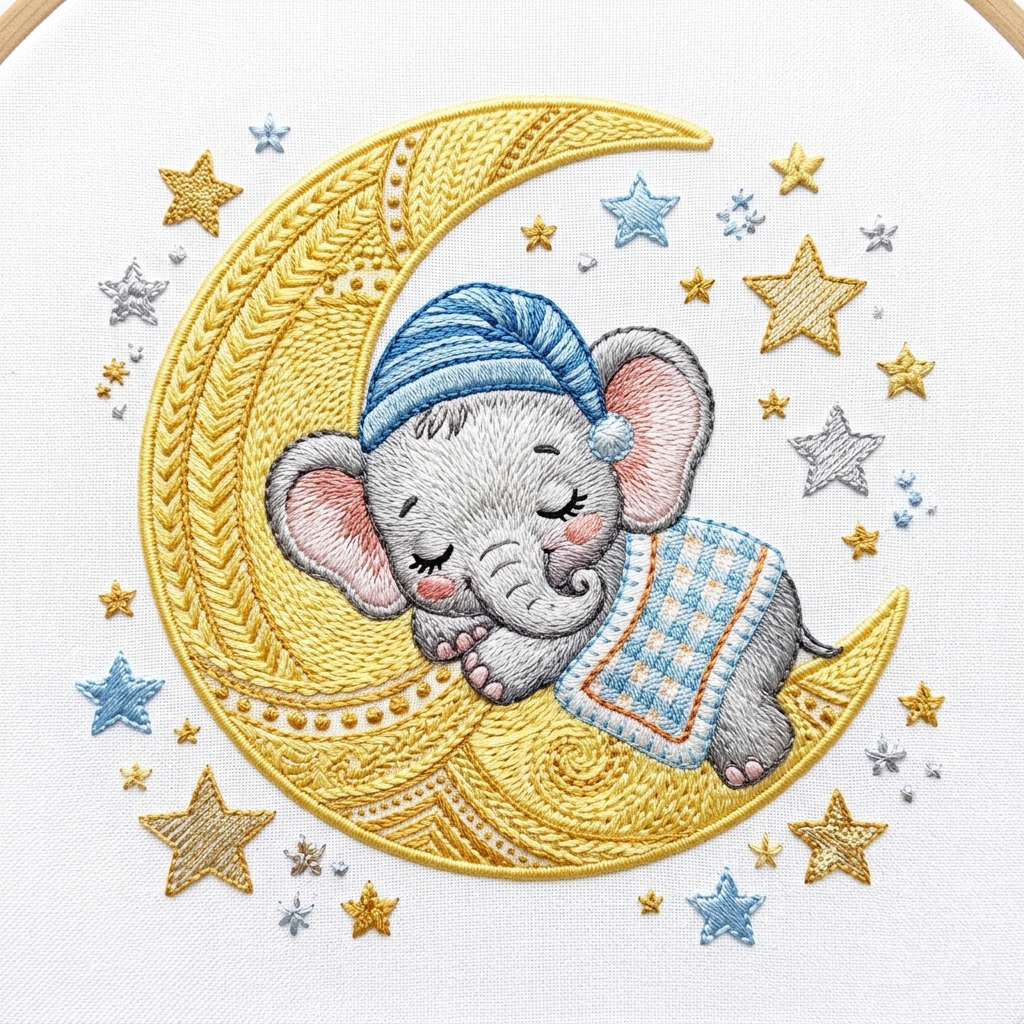
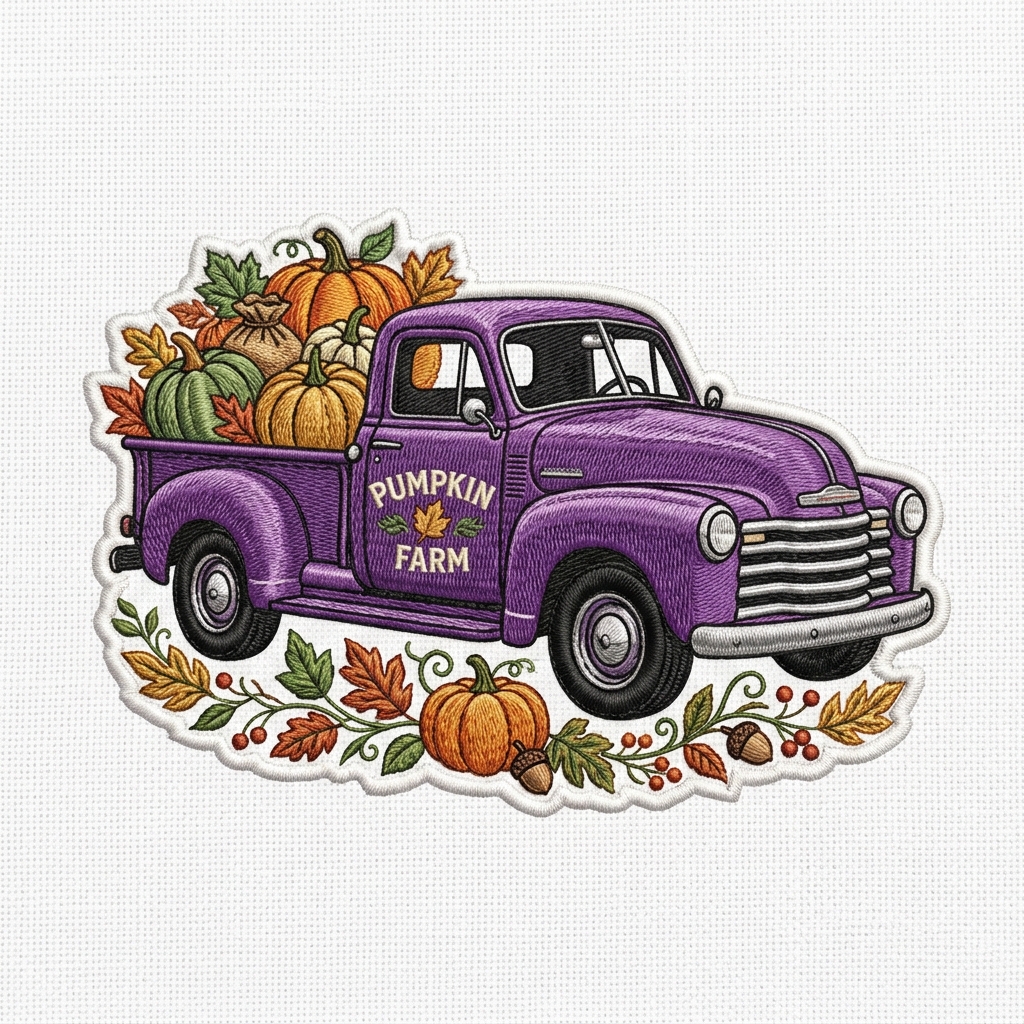
At its core, PNG to DST conversion is the process of translating a standard digital image (raster pixels) into coordinate-based stitch paths. A Tajima DST file contains the physical X and Y coordinate translations that guide the needles of embroidery machines, ensuring your custom logos, patches, and artwork are stitched onto fabrics with maximum precision and zero stitch waste.